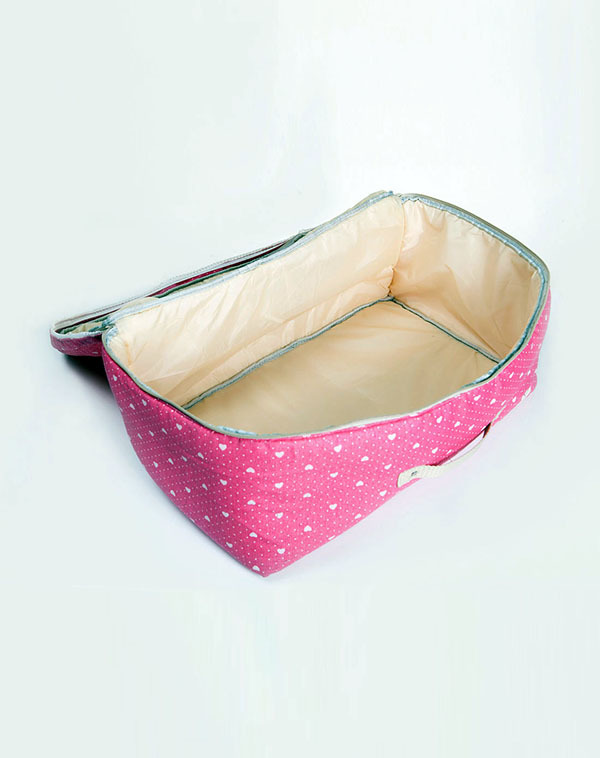
Nowadays, every family has more than one quilt, so how to place spare quilts? There are things like quilt storage bags on the market now, but the production process is very simple, so it is better to make them yourself. How to make your own quilt storage bag? The editor has summarized the steps for making your own quilt storage bag for everyone, let’s learn new skills!

Homemade quilt storage bag
1. Materials and tools for making quilt storage bags
Large pieces of fabric, less than one foot of fabric are not enough. It is a waterproof and dustproof cloth, such as rainproof cloth, Oxford cloth, etc. There are also scissors, needle and thread, preferably a sewing machine, and a ruler.
2. How to make your own quilt storage bag
Step 1.
First fold the quilt , fold it smaller, just like when it is stored, and then use a ruler to measure the height and length of the quilt to be stored.
Step 2.
According to the measured dimensions, cut a piece of circular cloth with the same diameter as the length of the quilt, and then cut a piece of cloth with the same length as the height of the quilt and the same width as the circumference of the circular cloth. These two pieces of cloth It’s the top and side of the quilt storage bag. Find the thread with a similar color to the fabric, and sew the pieces of fabric together to form a complete piece of cloth. When sewing fabrics together, press the lining of the fabric to the outside and the top to the inside, and then sew. When sewing, the stitches should be close together to prevent the thread from coming off.

Cutting of quilt storage bag
Step 3.
Fold the sewn piece of cloth in half again to form a pocket shape, and then sew it together (the two sides on both sides Leave it alone). Then prepare a piece of cardboard and cut a cardboard of the same shape and size according to the overall shape of the sewn pocket so that it can fit into the pocket. Connect the cut square cardboard and the semicircular cardboard and glue them in a circle with transparent glue. It’s strong, so it’s best to glue it all together so that the surface is smooth and easy to stuff into your pocket. Put the glued square cardboard into the quilt storage bag, with the round shape on top, then fold the two pieces of fabric at the bottom of the quilt storage bag in half, use a needle to stuff the raw edges into the seams of the two pieces of fabric, hide them, and sew them inside. This is the load-bearing side, and the stitches should be denser.
Step 4.
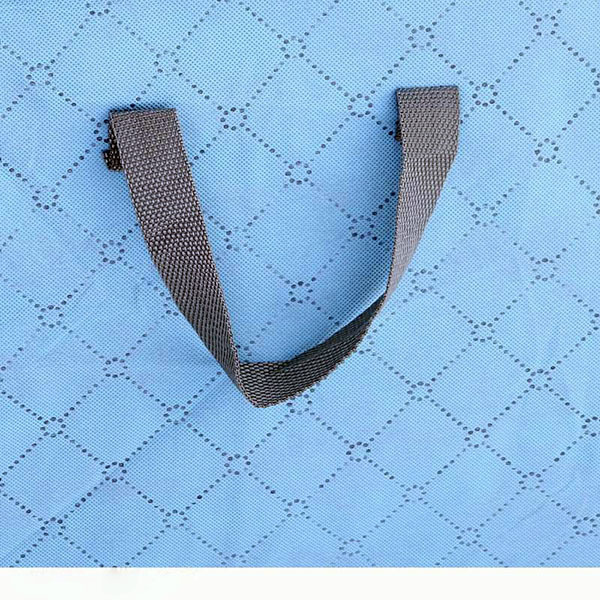
Lay the sewn quilt storage bag flat, measure the location and size of the remaining fabric, sew small pockets one by one in a U shape, and fold one or two bottoms of the fabric prepared to make large pockets. Then sew the pleats, because the bottom is pleated, so after sewing, the quilt storage bag pocket will naturally be larger. Then cut a long strip of the remaining fabric, sew the fabric lining outward, and sew it in a straight line. This is the hanging strap of the quilt storage bag.

Quilt storage bag hanging strap production
Step 5.
Put the excess fabric in the semicircular part of the quilt storage bag tightly against the circular cardboard plug Go back to the inside and sew. Do the same on both sides. The key is to make the fabric close to the board. Because this is the top of the quilt storage bag, the stitches must be as detailed as possible and not exposed outside the fabric. Leave a gap at the top of the circle. The mouth cannot be sewn shut completely. To make the organizer look prettier, sew ribbons to the sides of the quilt organizer and you’re done.
Editor’s reminder: When DIYing quilt storage bags, the cutting size must be larger!
The above is the knowledge about homemade quilt storage bags shared by the editor. I hope it will be helpful to you. If you want to know more about quilts, please stay tuned. Get a quotation in 10 seconds and get four sets of design plans*, and a decoration butler will handle the entire process.Tracking service, act quickly!


